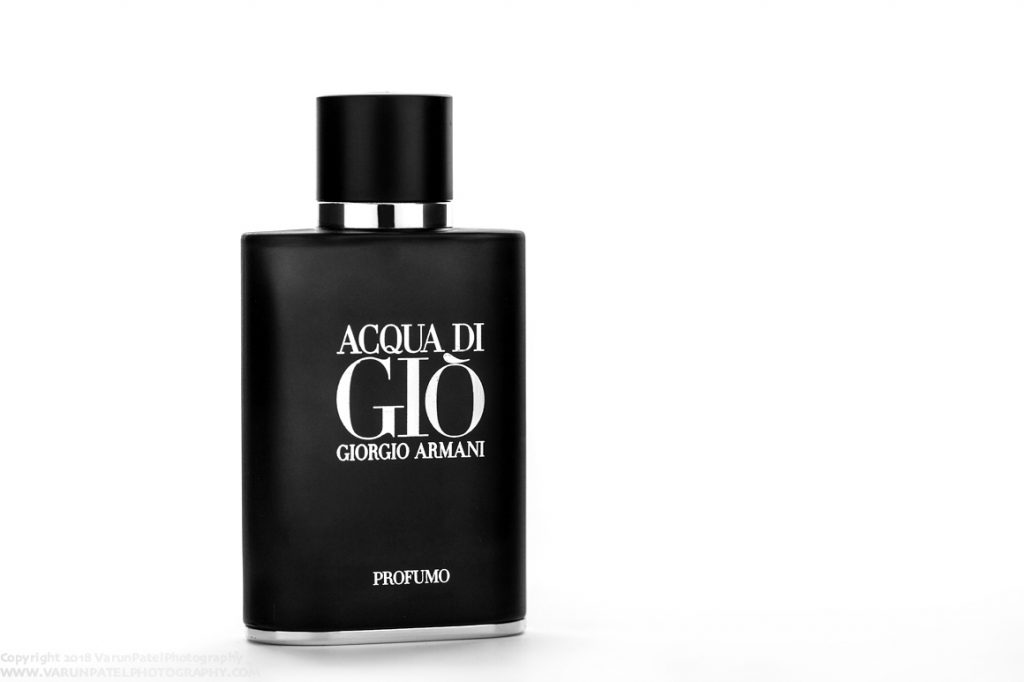
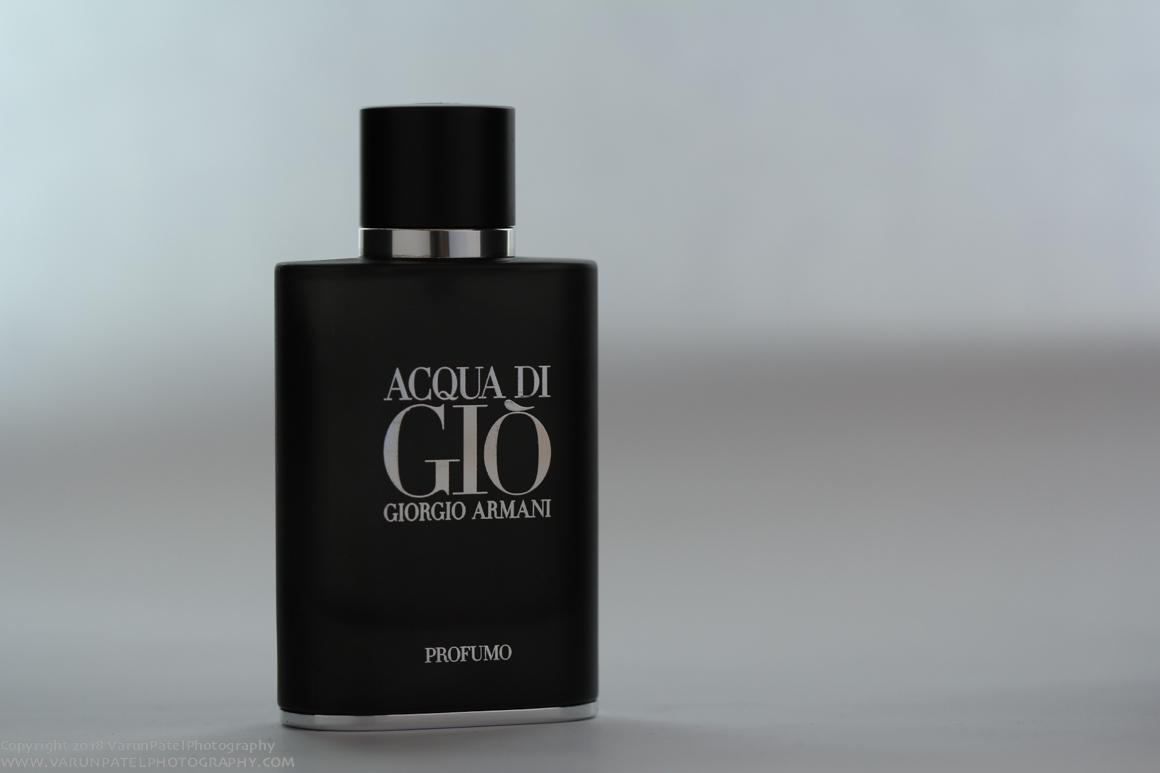
Today we are going to learn about “How to do product photography using natural lights and minimal equipments.” Product photography now a days has a boom in the market due to E-commerce and digitalisation. So every product manufacturer has to get their product shoots done on regular bases. From past few months, I been getting lot of requests from amateur photographers and small scale product manufacturers, for writing a blog on how they can shoot the product with basic equipments and lighting systems.
It defiantly helps if you have professional lighting equipments for your product shoots. As a professional product photographer you need to have the equipments, which can give you precise results. But if you are an amateur photographer starting your photography business, or a small scale product manufacturer, who is running tight on the budget. Spending on professional lights initially can be a big hole in your pocket for sure. So what you can do is utilise what you have and try to get best out of your own equipments.
For e-commerce product photography, or a basic catalogue shoot for products, you really do not need too much of equipments. I will be using just the natural lights and a pair of diffuser and reflector, to show you how you can take professional looking product shots. But before going further lets understand one thing. If you are doing photography with such minimal equipments, your out of the camera shots are never going to be very precise. To give that final look to your images you need to post process them on a good processing softwares.
– CAMERA AND LENS COMBO
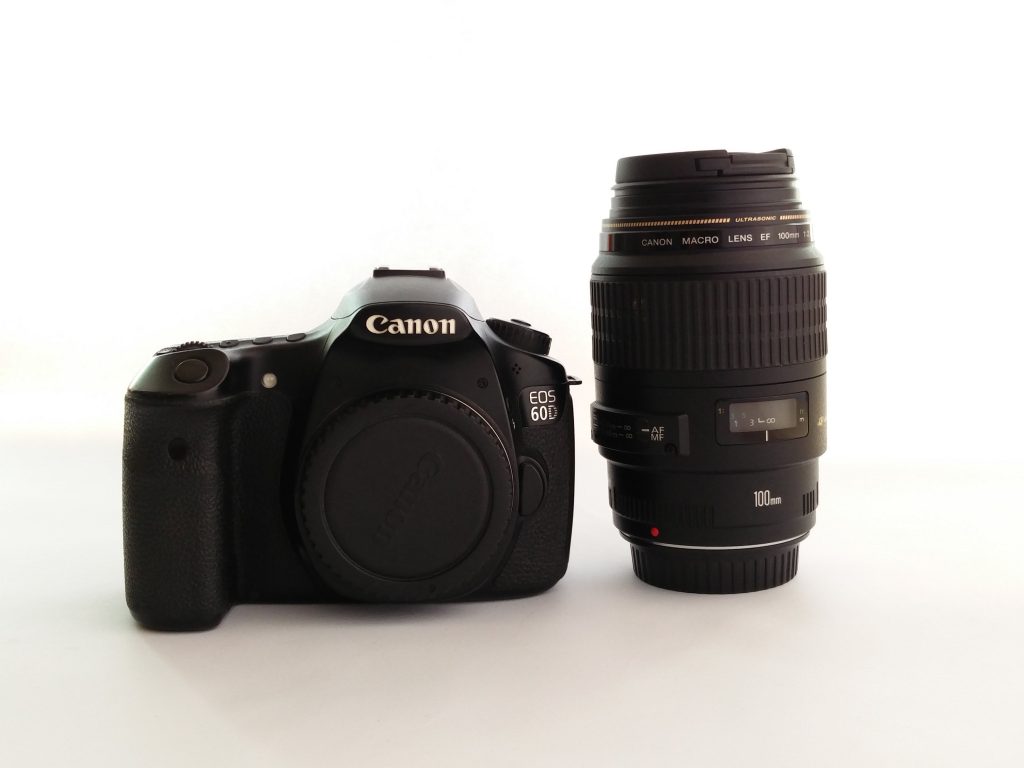
I used my canon 60D and 100mm F2.8 Lens combination. Around the entire blog you will see me using the entry level equipments. The reason is that I am writing this blog to make people understand how they can use they entry level systems also for the best outcome. Canon 60d has been my favourite camera since forever as it delivers amazing quality images. 100mm macro lens allows me to move closer to my products and capture better details.
– A GOOD TRIPOD
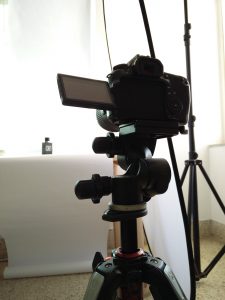 I have used my manfrotto tripod , i know it is not a basic equipment and costs more then a basic DSLR . But well what i believe is, your tripod should be as expensive as your budget supports. Because tripod is something which give you your primary stabilisation. So they have to be super sturdy. And the tripod i am using here is more like a beast and has proven itself well in all my shoots. But as a beginner, if your budget is not supporting than you can sure go for any best tripod .
– ONE REFLECTOR AND ONE DIFFUSER
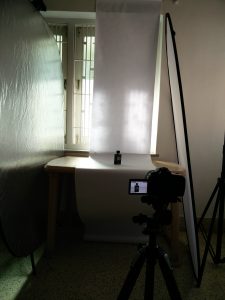 The reflector I am using here is 5 in 1 reflector which has following different surfaces
– Black , white , silver , gold , diffuser
On the right we are using the diffuser panel
On the left we are using the silver side of the reflector
– A TABLE FOR PRODUCT PLACEMENT
As you see in above picture, the windows from which we are going to use the natural lights, are at a height so we need to make sure to reach that height for our product placements. So we have used a normal but sturdy plastic table for giving our setup a good height for product placements and shooting purpose.
– A PAPER ROLL FOR BACKGROUND
For creating that plain white background we are using a paper roll here, which is a bit transparent as well. The transparency allows us to use the window light coming from the background , which helps us making the background look pure white .
SHOOTING PROCESS
Prepare your camera
Start by attaching your DSLR with the tripod . Once you are ready with that , adjust height of your tripod to match the height of your product placed on the table. For normal product catalogue shots , it is preferable to keep the camera height almost at the hight of your product only. A lower angle shot can be used for some campaign shots but not for catalogues.
Camera settings
For the shots I will be discussing, my camera settings were as follow.
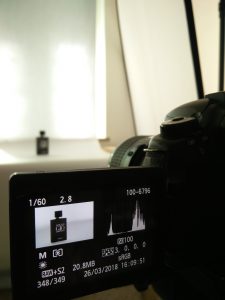
1/60 Shutter speed
F2.8 Aperture
100 ISO
Daylight WB
Shooting on RAW + JPEG
Understanding lights
The very important part is to understand the lights. As we are shooting with natural lights only so we have to make sure to utilise it wisely .
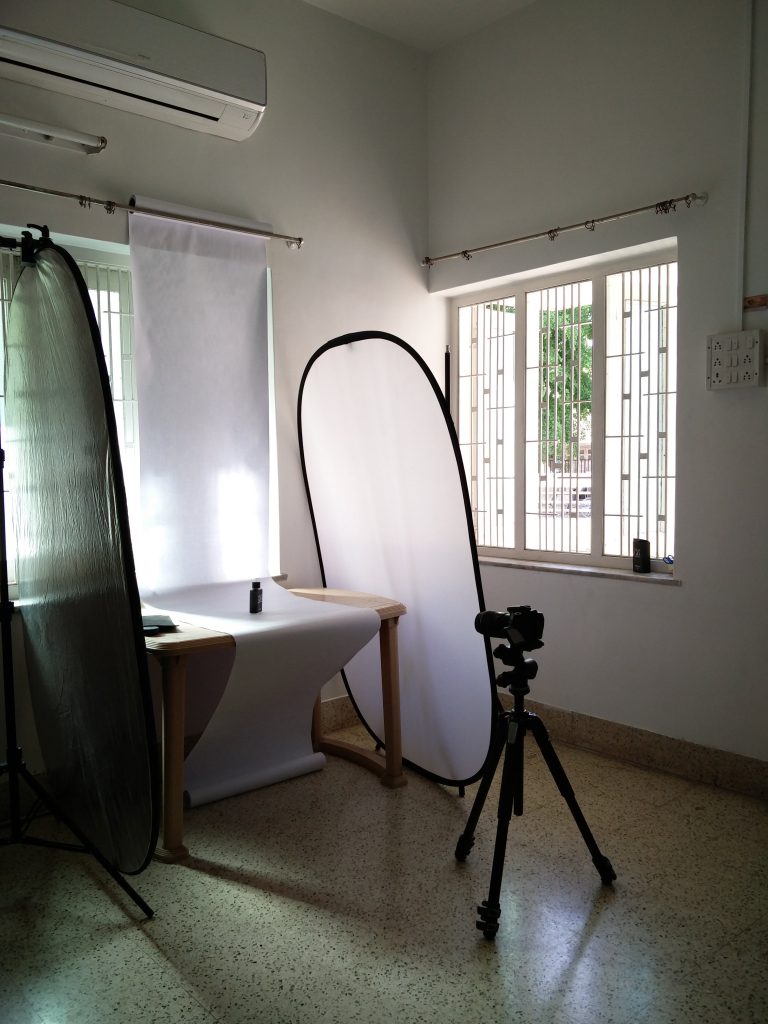
As you can see here in the setup above, we are shooting in a corner of the room with two side windows. The window which is open on the product’s right side, is acting as our main light here. The window which is hidden behind the white paper roll , is acting is our background light which as making background white as much as it can.
Our diffuser on the right is diffusing the main light coming on the product , as the light ( if not diffused ) can create hot spots on the product or can reflect the window on the shiny parts. For the left side , i have shot 4 variations. For reflection i used four different surfaces white , a mirror , silver and black surface . Following are the variations .
Black card to product left and diffuser on product right
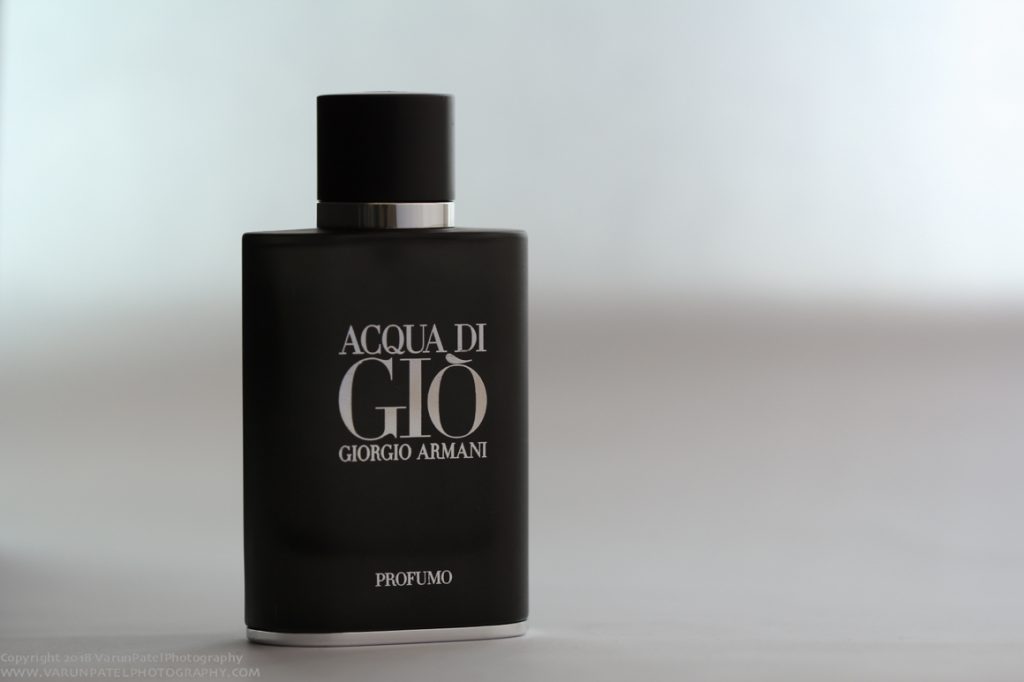
This will give you more contrast on the product . Even the chrome parts on the product will have the neat reflection . Good for shots where you want some high contrast look on the products .
A mirror placed on product left and diffuser on product right
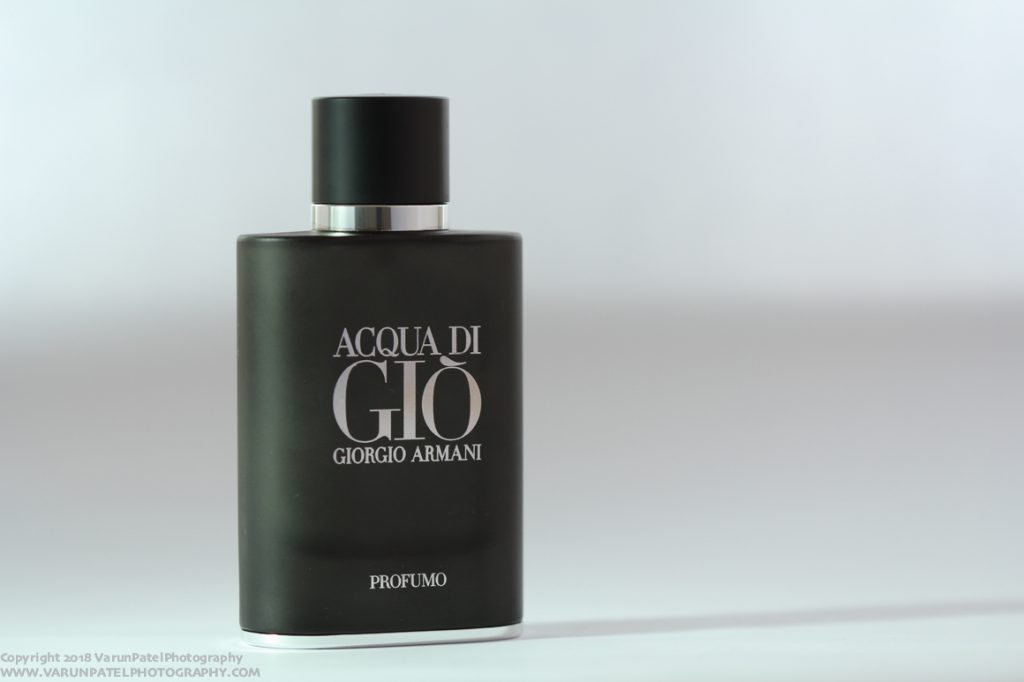
For a product shot where you want more cleanliness and shape on the products . A mirror will be giving you very hard light so hard shadows are expected .
White card placed on product left
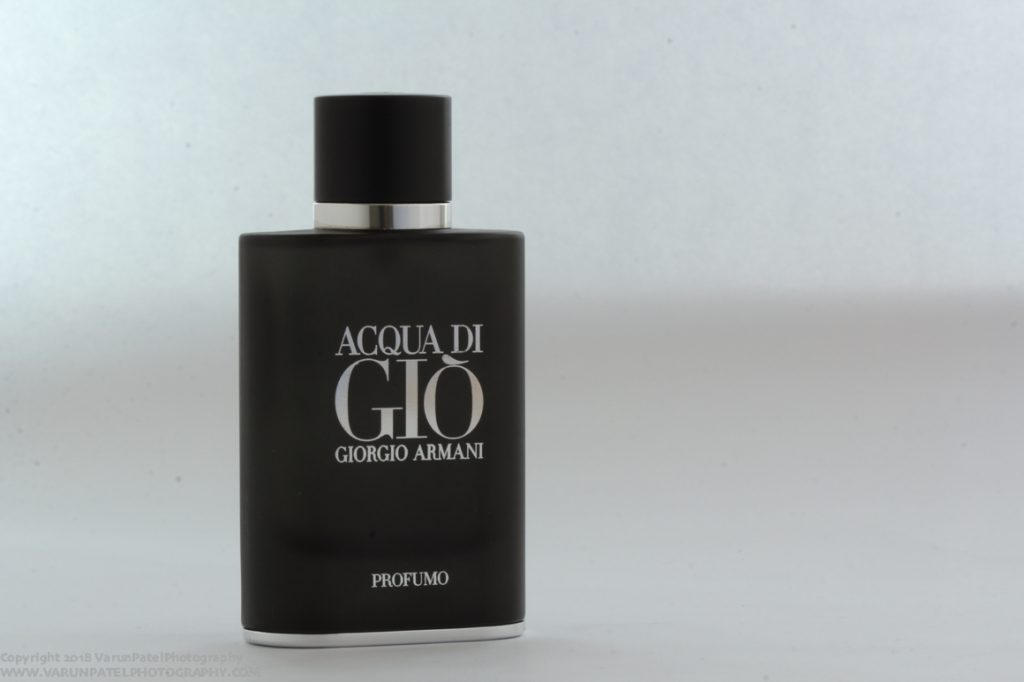
Anytime my preference is using a white card as you can see it gives you very natural grading. On product and even on chrome surfaces it reflects well and gives amazing gradients .
White card , Black card and diffuser combo
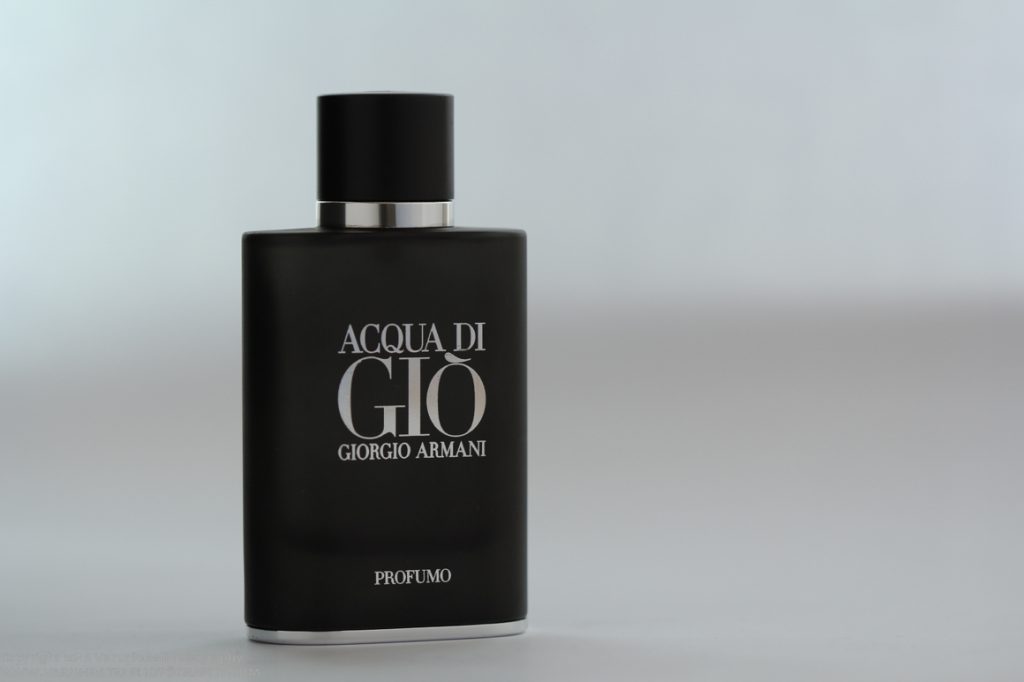

This black cards are giving the product a good finish specially on the chrome part on the cap. Properly placed black cards will give you definition of the shapes of the products .
POST PROCESSING
I have mentioned about the importance of post processing, in natural lights shots in the beginning of this post already. Because you are shooting with natural lights only, so you do not have the control over the direction. In this shot our background is getting lit with the sun light coming from behind. So it is not spreading well on the entire background . So we have some gradients in the background . We need to get rid of those gradients plus as per my own style I have shot this image a bit under exposed. So i can recover the details back easily . So we really need to do good amount of post processing to get the final look on the image . Following are the steps I have followed for the retouching .
– Exposure correction
– Color correction
– Cleaning the background
– Product cleaning
– Contrast correction
After above steps following is the before after comparison of the final shot
So shooting product with natural lights is really easy as you saw. It is all about understanding the lights right and having some basic equipments. You can even use any camera such as your mobile or a point and shoot camera for the same. As we are not using any flashes to sync with so any camera will deliver this results . But defiantly a macro lens and DSLR will give you better outputs.
If you would like to see more lighting setups articles then do check out our following articles.
– Lighting setups for hotel room portraits

